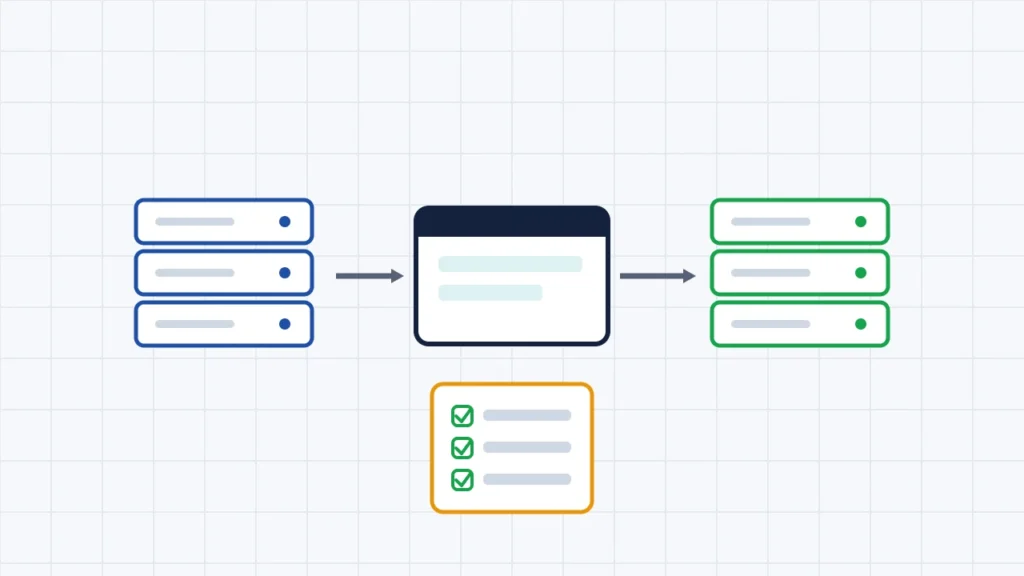
To move a website to a new host with little or no downtime, follow this order. First lower your domain’s DNS TTL a few days ahead. Then copy the site’s files and database to the new host and test it there before anyone else can see it. Next, set up email and SSL, and only then point your domain’s DNS at the new server. Keep the old hosting running until traffic to it stops. Because DNS changes reach visitors gradually, both servers may receive visitors for a while. Keeping the old site live and unchanged during that window is what stops the move causing an outage. Google’s own guidance for changing hosts without changing URLs follows the same pattern.
This guide gives the full checklist, the common ways to copy a site (cPanel backups, WordPress migration, or your new host’s free migration service), how to preview the new server before switching, and how to handle email and SSL, which cause most moving-day problems. It is based on Google Search Central’s site-move guidance, cPanel’s and WordPress.org’s documentation, DNS standards, Let’s Encrypt’s documentation, Microsoft’s and Google’s email-migration guides and hosts’ own migration terms, checked on 13 November 2026.
Key takeaways
- Lower the DNS TTL in advance. Google suggests doing it at least a week before the move, down to a few hours.
- Back up files and the database, and keep a copy off both servers.
- Test on the new host first using your computer’s hosts file, before changing DNS.
- Plan email separately. Free migrations often don’t include it.
- SSL: the common HTTP check can’t validate the new server until DNS points to it. A DNS-based check can.
- Don’t cancel the old host until traffic to it has stopped.
The moving checklist at a glance
- A week ahead: lower the DNS TTL and note your current DNS records.
- Take a full backup of files, databases and email settings.
- Set up the new hosting account and copy the site across.
- Test the new copy privately using the hosts file.
- Recreate email accounts or plan the email move.
- Prepare SSL on the new server.
- Freeze changes on the old site (pause comments, orders or content edits).
- Switch DNS to the new host.
- Monitor traffic, errors and email, and keep the old host running.
- Cancel the old hosting once traffic to it has reached zero.
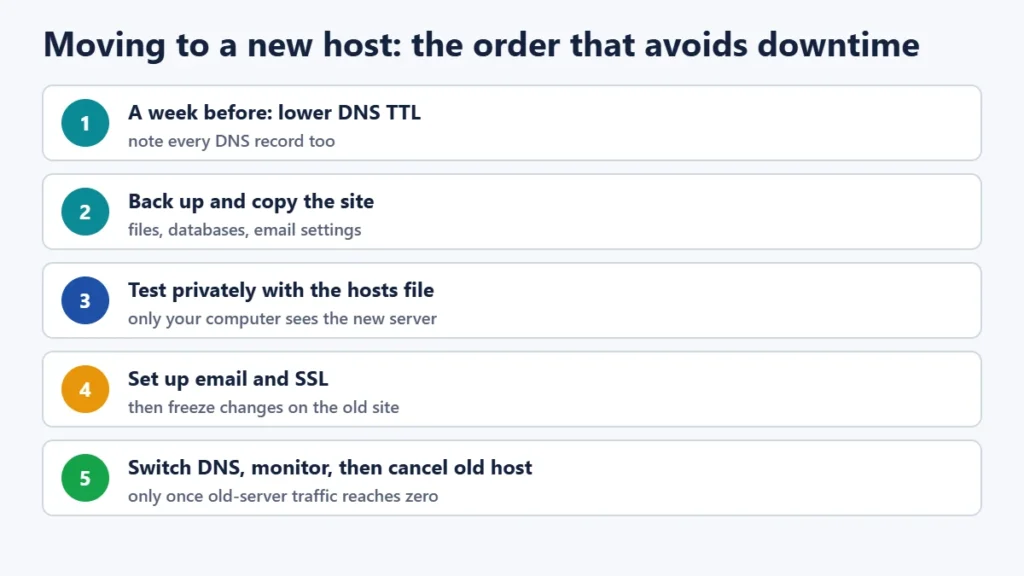
Step 1: Lower your DNS TTL in advance
TTL (“time to live”) tells other DNS servers how long they may keep your DNS record before checking again. The standard describes it as a maximum, not a guaranteed time, so some resolvers may refresh sooner or later. If your TTL is a day, some visitors could keep reaching the old server for about a day after you switch. Google’s site-move guidance suggests lowering the TTL to a few hours at least a week before moving, so the old, long TTL has expired everywhere by moving day. Change it where your DNS is managed, at your registrar, your current host or a DNS service.
Before you move, write down every DNS record: A, CNAME, MX, TXT and any others. You will need them if DNS management moves to the new host.
Step 2: Back up everything
- Files: the website folder, uploads and configuration files.
- Databases: export each one (for WordPress, usually a single MySQL database).
- Email: the list of mailboxes, forwarders and filters, plus the messages themselves if they’re stored on the host.
In cPanel you can generate a full account backup, or download partial backups of your home directory, MySQL databases and email forwarders and filters. Note cPanel’s limit: you can’t restore a full backup yourself from cPanel. That needs WHM (server-level) access, so your new host has to do it. Keep at least one backup copy on your own computer or cloud storage, not just on the old or new server.
Step 3: Copy the site to the new host
Choose the method that fits your site:
| Method | Best for | Notes |
|---|---|---|
| New host’s free migration service | Most people | Check what’s included. Many exclude email or certain plans. |
| cPanel to cPanel account transfer | Moving between cPanel hosts | Done by the host with WHM’s transfer tool. Some settings, such as two-factor authentication, don’t carry over. |
| WordPress migration plugin or manual copy | WordPress sites | Copy the files and the database. If the domain stays the same, no URL changes are needed. |
| Manual upload (FTP/SFTP + database import) | Simple or custom sites | Update database login details in the site’s configuration if they change. |
Free migration terms vary, so read your new host’s. Hostinger says its free migration covers its web, cloud and agency plans but not VPS, and that email has to be moved separately. Verpex says migration is included with its hosting packages, excluding Windows and unmanaged VPS, and that it can’t migrate email from hosts that don’t use cPanel. SiteGround offers a free migration plugin. Our Verpex review explains one host’s migration terms in more detail.
WordPress tip: WordPress.org notes that if the database name and site URL stay the same, moving is mainly a matter of copying the files and database. Edit wp-config.php only if the database details change. If you ever need to change URLs inside the database, use a tool that handles serialized data. A plain find-and-replace can break settings.
Step 4: Test the new copy before switching
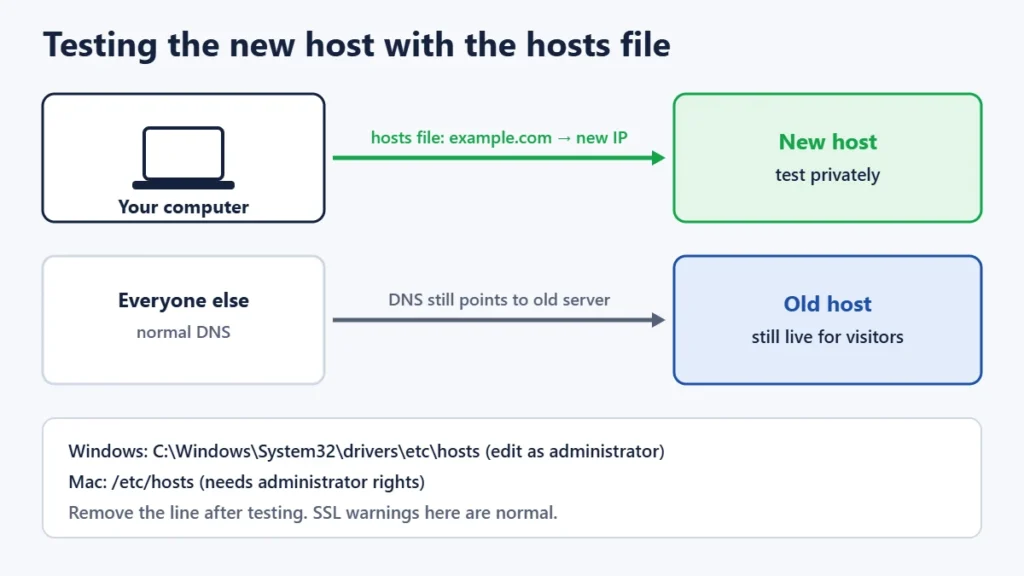
You can view the site on the new server before changing DNS by editing your computer’s hosts file. This file tells only your computer to send your domain to the new server’s IP address.
- Windows: the file is at
C:\Windows\System32\drivers\etc\hosts. Open Notepad as administrator to save changes. Microsoft’s PowerToys also includes a Hosts File Editor. - Mac: the file is at
/etc/hostsand needs administrator rights to edit. - Add a line such as
203.0.113.10 example.com www.example.com, using the new server’s IP address, then reload the site.
Click through key pages, log in, submit a test form, and check images and checkout if you have one. Remove the line when you’re done. SSL may show a warning during this test if the new server’s certificate isn’t set up yet. That doesn’t mean the move will fail.
Step 5: Plan email separately
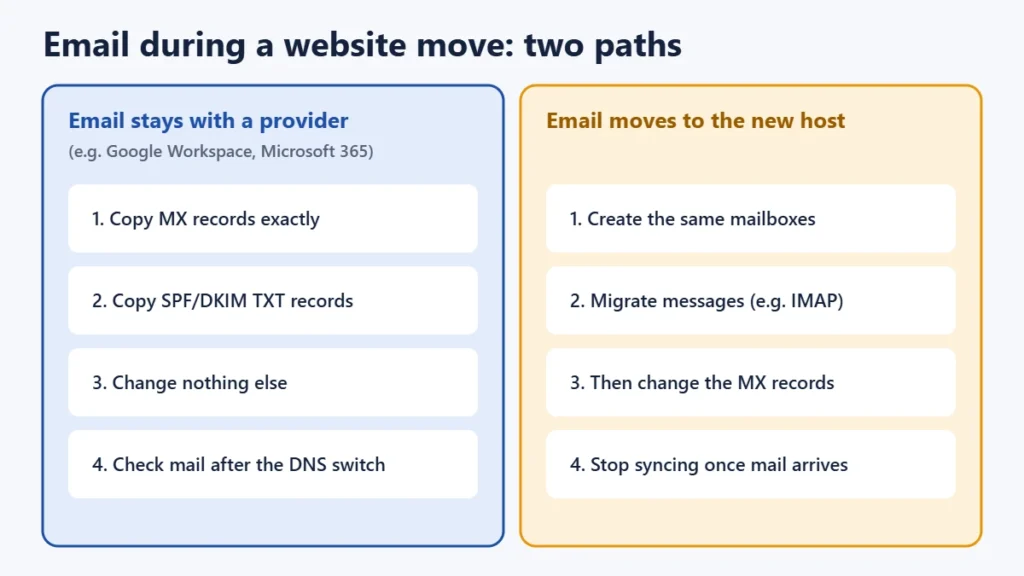
Email is where moves most often go wrong. Decide where email will live after the move.
- Email stays with a separate provider (for example Google Workspace or Microsoft 365): copy the existing MX and related TXT records exactly to the new DNS. Nothing else needs moving.
- Email moves to the new host: create the same mailboxes there, move messages (for example with IMAP migration), then change the MX records. Microsoft’s IMAP migration guidance follows this order: migrate the mail, change MX, then stop syncing. It also notes that IMAP migration moves email only, not contacts or calendars.
Mail can take time to follow an MX change. Google says new MX records can take up to 72 hours to be recognised. Keep the old mailboxes until you’re sure nothing is still arriving there. Our guide to web hosting limits explains why moving email off your hosting can free up storage and inodes.
Step 6: Prepare SSL on the new server
Many hosts issue free Let’s Encrypt certificates automatically. Let’s Encrypt’s common check, called HTTP-01, works by fetching a file from your site on port 80, so it normally succeeds only after DNS points to the new server. Expect a short gap, or ask your host to issue the certificate right after the switch. The alternative DNS-01 check uses a TXT record instead and can work before the site is live, which is useful if your new host or DNS provider supports it.
Step 7: Switch DNS
- Changing A records only: point the domain’s A record (and www) at the new server’s IP. Keep everything else, including MX, the same.
- Changing nameservers to the new host: first recreate every DNS record at the new host, especially MX and TXT, then change the nameservers at your registrar.
Pause anything that changes content on the old site, such as new orders, comments and posts, from just before the switch until DNS has updated. Otherwise changes made on the old server won’t be on the new one. Google says the move effectively starts when you change DNS, and a temporary dip in crawling afterwards is normal.
Step 8: Monitor, then cancel the old host
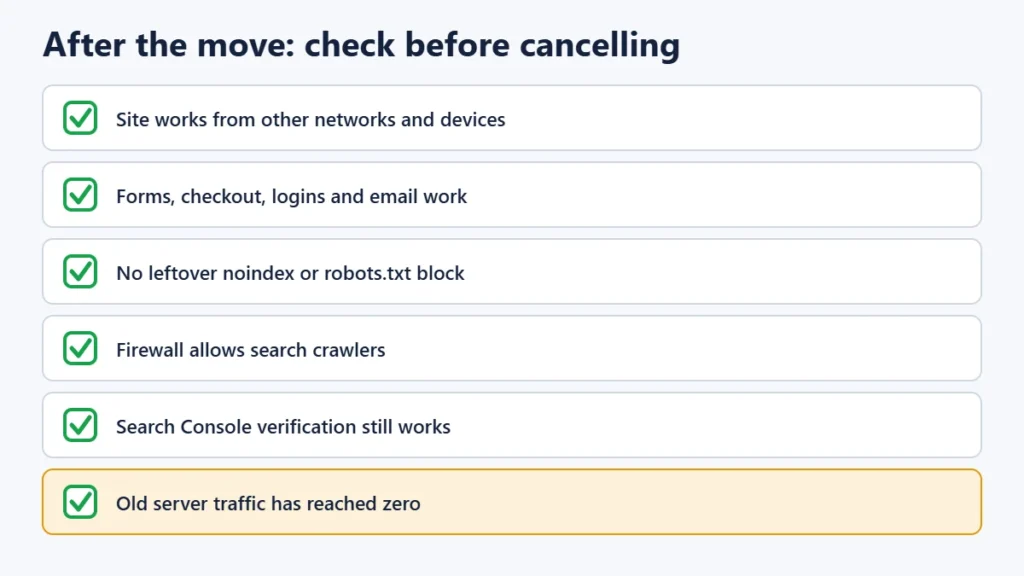
- Check the site from different networks and devices.
- Check that forms, checkout, email and logins work.
- Make sure no “noindex” setting or robots.txt block from the test copy is still active. Google calls this out specifically.
- Check that your firewall or security service isn’t blocking search engine crawlers, and that Search Console verification still works.
- Watch the old server’s traffic logs. Google advises shutting down the old host only once traffic to it reaches zero.
Common mistakes
- Cancelling the old hosting first. Your site and email may vanish before the new host is ready. See what happens in our guide to expired web hosting.
- Forgetting MX or TXT records when changing nameservers, which breaks email.
- Lowering the TTL on moving day. It has to be done in advance to help.
- Leaving a “discourage search engines” or noindex setting on from the test copy.
- Editing content on the old server after the switch, so those changes are lost.
Frequently asked questions
How long does it take to move a website to a new host?
The copying can take minutes to hours, depending on size. DNS changes reach visitors gradually, depending on TTLs and resolvers, so plan for a transition period and keep the old host running during it.
Will moving hosts affect my SEO?
If the URLs stay the same and the site works on the new host, Google says it treats the move like a normal hosting change. A temporary dip in crawling is normal. Avoid long outages, errors and accidental noindex settings.
Can I move my website myself?
Yes, especially for WordPress, by copying the files and database or using a migration plugin. Many hosts also offer free migration. Check what it covers, particularly email.
Do I need to move my domain too?
No. Your domain can stay with its registrar. You only change where its DNS points. If you also want to move the domain, see our guide to transferring a domain, and do it separately from the hosting move.
Is zero downtime possible?
Little or no downtime is realistic if you test first, lower the TTL in advance and keep the old site live during the switch. No one can guarantee zero downtime, because DNS updates happen at different times for different visitors.
The short version
Lower the TTL a week ahead, back up files, databases and email, copy the site, test it privately with the hosts file, set up email and SSL, then switch DNS. Keep the old host running until its traffic stops. Move the domain separately, if at all.